
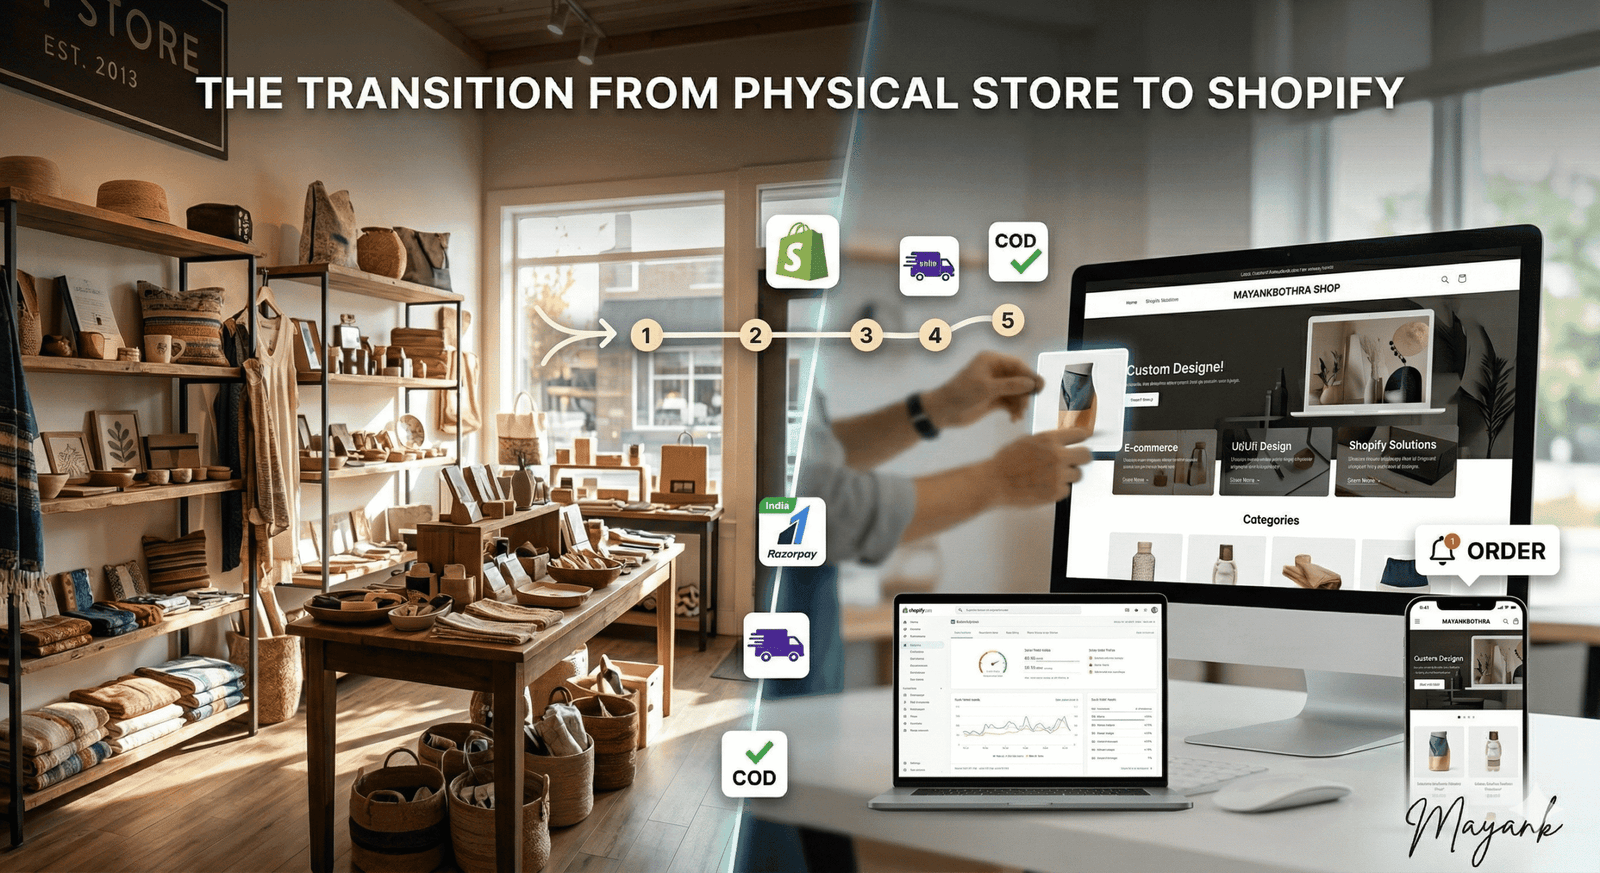
The retail landscape has shifted. While a physical storefront offers a personal touch and local presence, the limitations of “open hours” and geographical boundaries can stall growth. Transitioning your brick-and-mortar business to Shopify isn’t just about moving your products online—it’s about opening your doors to a global audience 24/7.
With over a decade of experience in web development, I’ve seen that the most successful transitions follow a structured roadmap. Here is your step-by-step guide to taking your physical store digital.
Phase 1: Preparation and Inventory Audit
Before you touch a single line of code or pick a theme, you need to organize your data.
- Audit Your Catalog: Not every item in your physical store needs to go online immediately. Start with your bestsellers or items that are easy to ship.
- High-Quality Imagery: Online, customers “touch” with their eyes. You will need professional photos from multiple angles and a consistent background.
- Data Organization: Prepare a CSV file with product titles, detailed descriptions, SKU numbers, weights (for shipping), and prices.
Phase 2: Setting Up the Shopify Foundation
Shopify is user-friendly, but the initial configuration determines your site’s long-term performance.
- Choose the Right Plan: For most transitioning stores, the “Shopify” or “Advanced” plans are ideal as they offer better reporting and lower transaction fees as you scale.
- Domain Mapping: Connect your professional domain (e.g.,
yourbrand.com). If you don’t have one, Shopify lets you purchase one directly. - Configure Payments: In India, integrating reliable gateways such as Razorpay, Cashfree, or PayU is essential to support UPI, credit cards, and NetBanking seamlessly. Don’t forget to configure Cash on Delivery (COD) if that is a staple for your local customers.
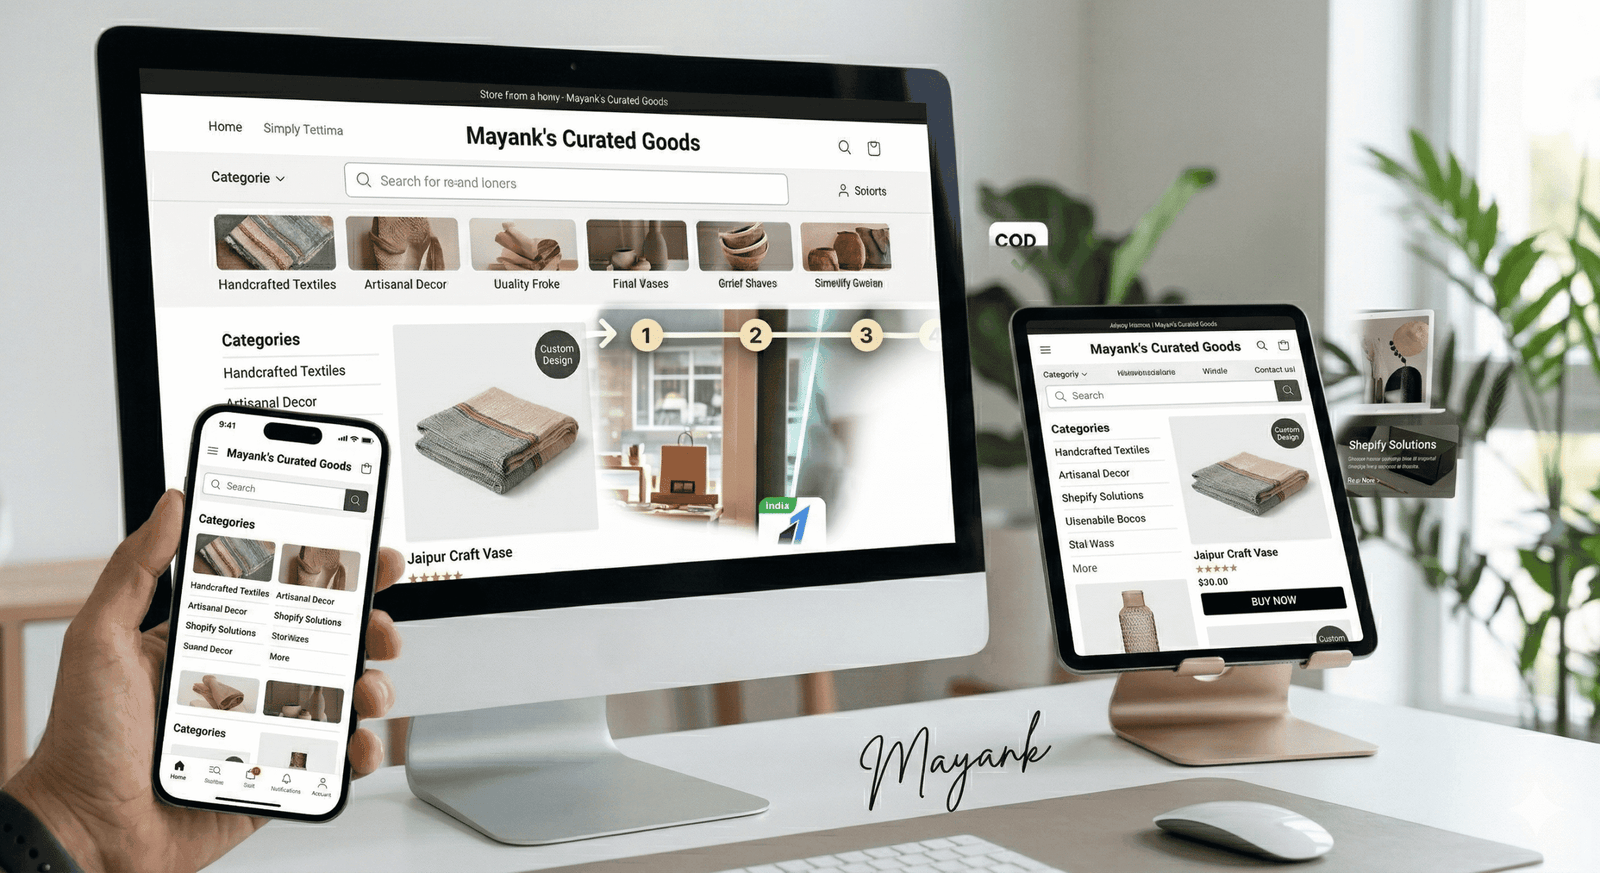
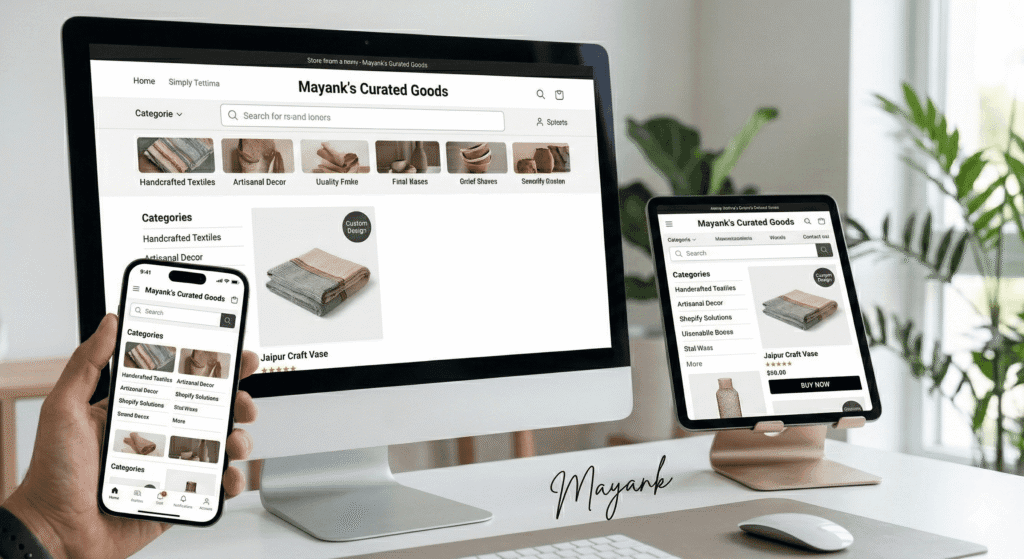
Phase 3: Designing the Digital Storefront
Your online store should be a digital twin of your physical brand’s vibe.
- Select a Theme: Choose a responsive theme that handles large catalogs if you have many SKUs.
- UI/UX Best Practices: Ensure your navigation is intuitive. A “Shop by Category” menu and a prominent search bar are non-negotiable.
- Mobile Optimization: More than 70% of e-commerce traffic comes from mobile devices. Your site must look and perform perfectly on a smartphone.
Phase 4: Syncing the Physical and Digital
One of the biggest hurdles is managing stock in two places at once.
- Inventory Sync: Use Shopify’s built-in inventory management. If you continue to sell in-store, consider Shopify POS (Point of Sale). This ensures that when an item sells in your physical shop, your online stock levels are automatically updated, preventing overselling.
- Shipping Strategy: Define your zones. Will you offer local pickup for customers in your city? What are your flat rates for domestic shipping? Integrating apps like Shiprocket can automate label printing and tracking.
Phase 5: The “Go-Live” Checklist
Before you announce the launch to your loyal local customers, run these tests:
- The Test Transaction: Place an actual order using a real credit card to ensure the payment gateway and order notification emails are working.
- Tax Settings: Ensure GST is correctly calculated based on your business location and the customer’s shipping address.
- Legal Pages: Ensure your Refund Policy, Privacy Policy, and Terms of Service are clearly linked in the footer.
Conclusion: Beyond the Launch
Moving to Shopify is the beginning of a new chapter. Once your store is live, your focus will shift to Digital Marketing—using SEO, Instagram Shopping, and Email Marketing to bring the same foot traffic to your URL that you’ve enjoyed at your physical address.
Are you ready to take your local business global? If you need a hand with the technical setup, custom Shopify coding, or a complete design overhaul, I’m here to help.